I was looking for a method to automate Windows 8 client deployment on Azure. It seems important that you Sysprep the image only when it’s already running in Azure. My attempts to Sysprep the image locally all failed; I suppose that when booting up again the VM was somewhere stuck at the mini-setup of Windows.
Make sure that the reference machine is configured and ready to Sysprep. Execute Sysprep. It’s important to select “Shutdown” because you need to capture the image!
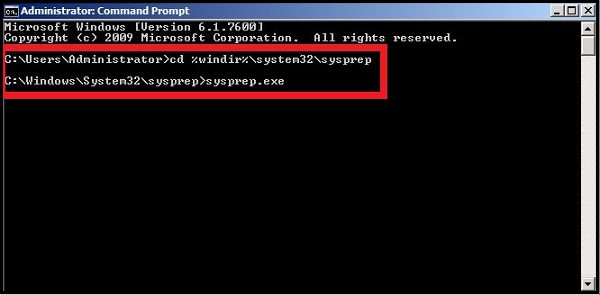
1. Open a Command Prompt window as an administrator.

2. Change the directory to %windir%\system32\sysprep, and then run sysprep.exe.
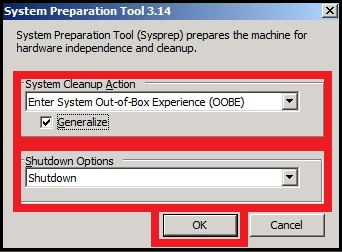
The System Preparation Tool dialog box appears.

3. In System Cleanup Action, select Enter System Out-of-Box Experience (OOBE) and make sure that Generalize is checked.
4. In Shutdown Options, select Shutdown.
5. Click OK.
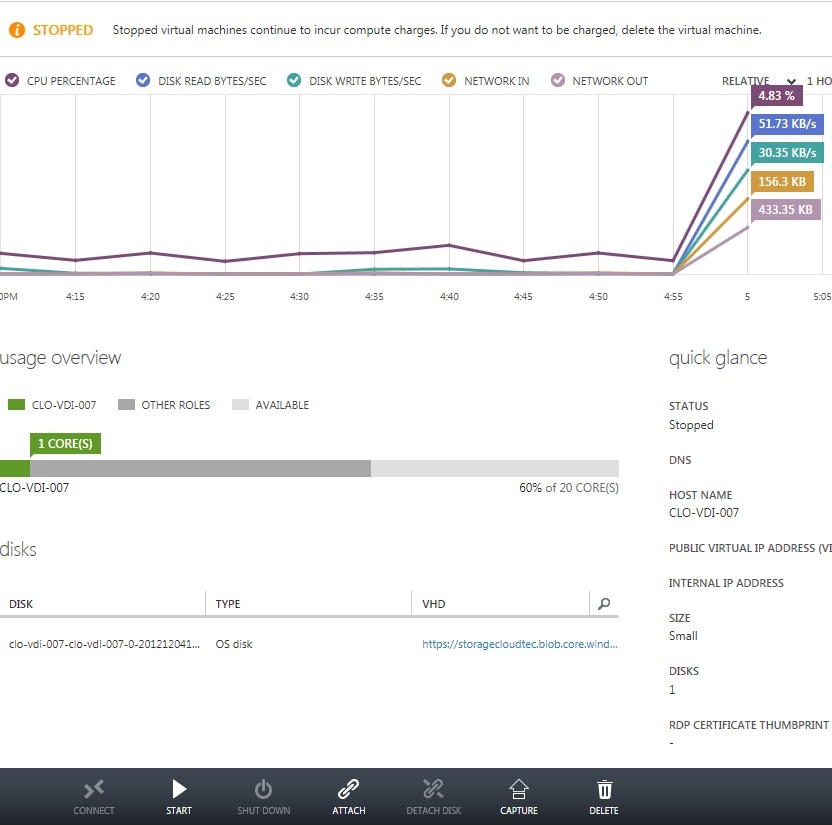
Let the system do its task and wait a few minutes until the VM is powered off.
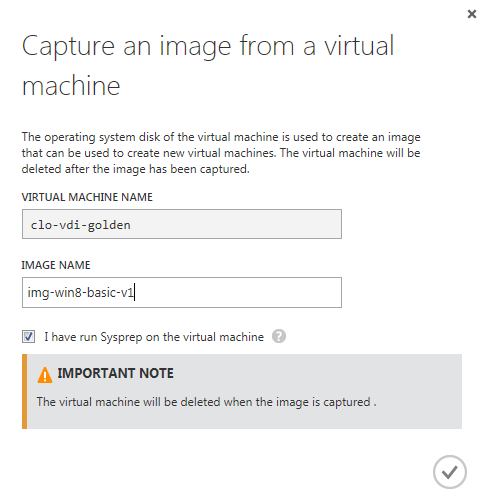
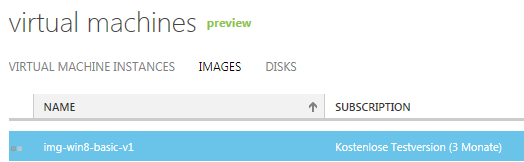
To capture the image click on the machine where you executed Sysprep and click on capture.


Be warned: The original machine (your Golden Image Machine) will be deleted when the image has been captured.
